

As part of our response to social distancing, we’ve been creating special online programs to help you find creative outlets during this difficult time. One of these programs has been a step by step zine tutorial led by our Studio Manager, Erika Rier. The tutorial is happening on our instagram account but we’ll also be updating them here as they are released every few days.
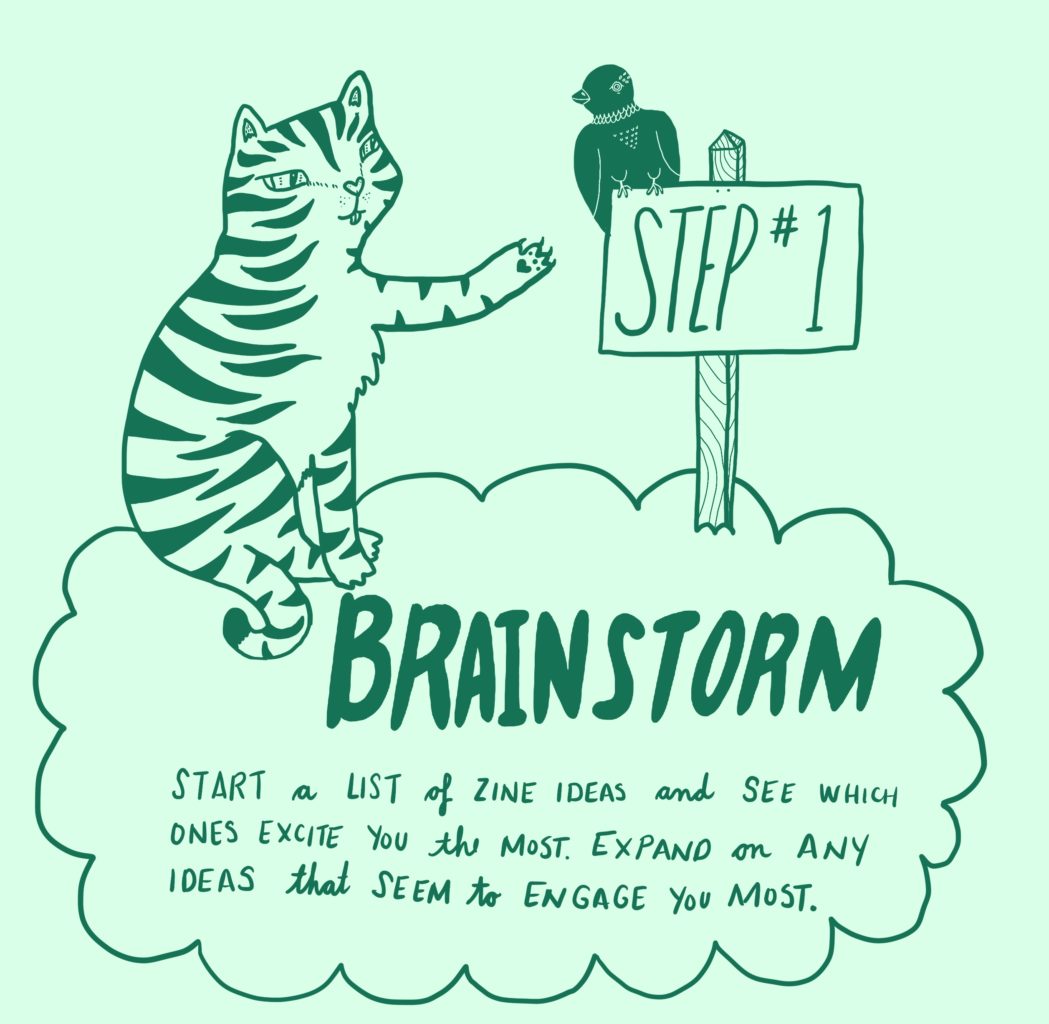
Step 1: Brainstorm Ideas
In the brainstorming stage just let your imagination run wild. List project ideas you may have had percolating for a few months as well as pushing yourself to think of new ideas on the spot. If an idea excites you start doodling and writing a little more about the project to see if it’s an idea worth pursuing further.
Sometimes with brainstorming, it’s a good idea to work on it over a few days, sometimes are first ideas are not our best ideas. You may also find you are able to add more depth to your original ideas if you sit with them for a bit. For the next two days give yourself time to have one intense brainstorm session and then give yourself some time to revisit those ideas before the next prompt posts on Friday.
I’d love to follow along on your projects so share your zine progress pictures on your social media platform of choice using the hashtag #virtualiprczines

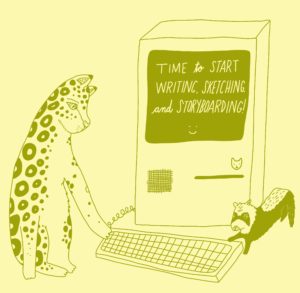
Step 2: Write and/or Sketch Your Rough Draft
Whether you’re creating a per-zine, political zine, comic, or a photo zine; writing out a rough draft is a helpful next step of your zine project.
If your zine is mostly written material, this is the time to write your rough draft. If you are using material you already wrote, like a bunch of poems, you could start collecting the pieces you plan on using.
If you are hoping to create a zine with submissions, start to figure out who you want to invite to collaborate and when you need those submissions. Then start reaching out to contributors!
If your project is a comic, begin writing and storyboarding your ideas. Similarly with illustrated, art, or photo zines, figure out if you want text and what it would be and start working on a basic storyboard of how you’d like the visual flow of the zine to go.
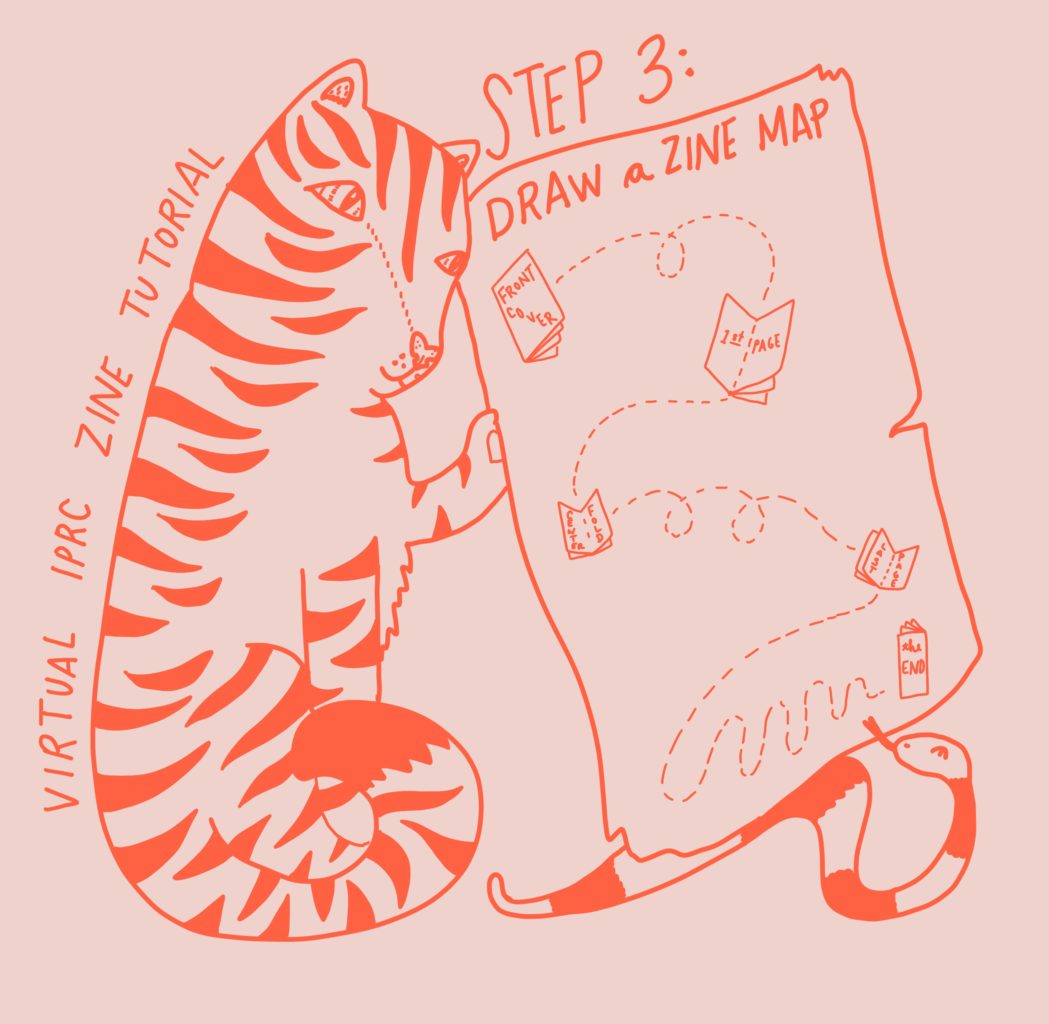
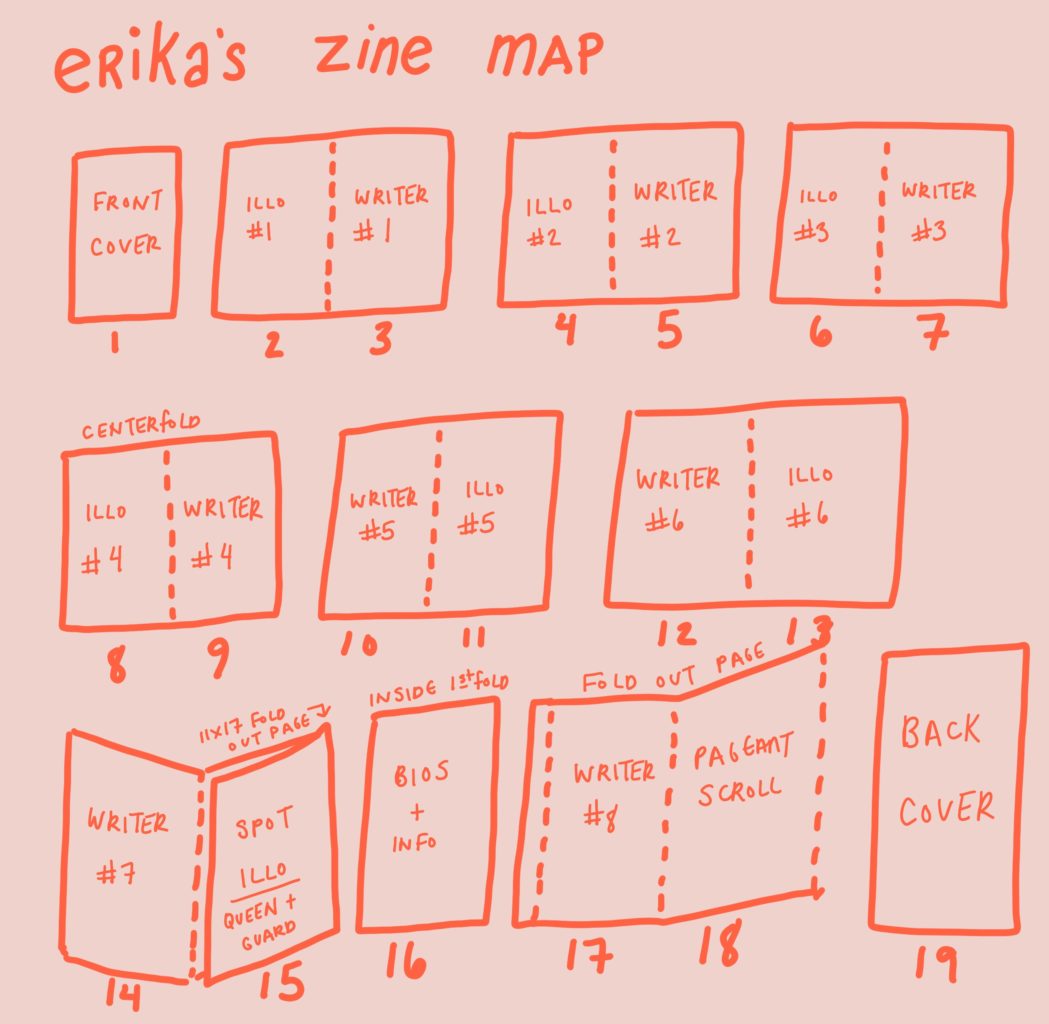
Day 3: Make a zine map
Once we have the rough draft of the content we’re including in our zines starting to develop, it’s a good time to sit down and start figuring out the basics of how our zine layout might look. At this point I typically draw a little map showing me which content will go on which pages.
This helps me to be sure that my zine will be a number of pages that is divisible by four, so that I can be sure it will fit correctly into a booklet format. If I have too much content this map helps me figure out what to cut, likewise if I seem to have empty space it gives me a chance to figure out how to fill this space.
My second image shows you what my zine map looks like generally, the sorts of notes and info that I include. At this point, we are not figuring out the more complex parts of our layout, really just the first step towards the laying out process. I am planning a fold out page at the end of my zine, which you’ll see gives me a strange page number.
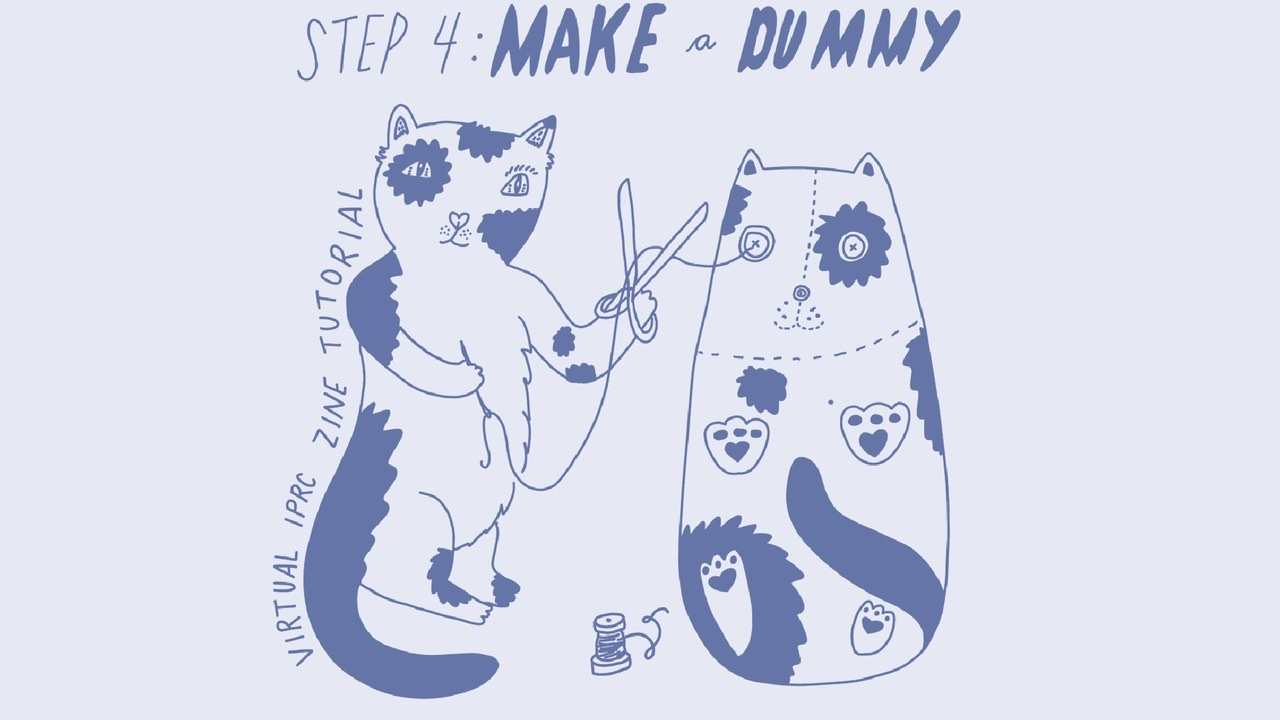
Day 4: make a dummy, start writing notes and ideas directly into the dummy
Time for my favorite part: make a dummy! A dummy is a paper sample of your zine so you can start figure out final layout, page number, and other useful construction information.
You can see examples of how I set up one of my own dummies in the video in this post. You’ll want to use paper in the size your finished zine will be and fold it accordingly. Begin writing info about your layout and pages (pulling from your zine map and rough draft to do so). I include page numbers and info regarding if it is a cover or centerfold. I also include any print info (I tend to mix photocopied images & risograph in the same zine).
See the video of my dummy in our instagram post.
You can also write which content will go on each page, I sometimes write the actual content for the first time in my dummy. You could also start printing out written content and images and start pasting them into this dummy. This is a great approach if you plan on doing hand layouts for your finished zine.
Spend the next few days working on your dummy and refining the vision for your zine. As always share your projects or questions in the comments or by tagging your own posts with #virtualiprczines
Stay tuned for the next steps coming soon here or on instagram!